Ray Casting is a graphics technique to determine what objects, if any, intersect with rays cast out from the camera. These rays, when intersecting with something like a wall, can be used to draw surroundings. Ray casting has been used in many older games, such as Rise Of The Triad, Wolfenstein 3D and Comanche: Maximum Overkill. It’s a fantastically simple way of creating seemingly 3D graphics and games. Ray casting is of course not real 3D and can be rendered in 2D space quite easily.
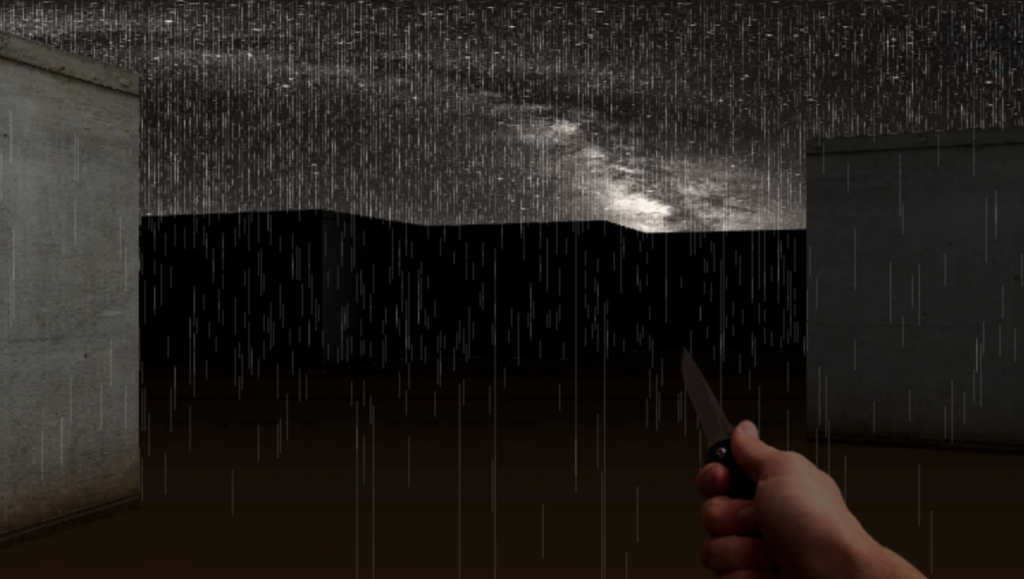
I’ve loved both the idea of ray casting and the games created by using it for decades, and I’ve always had a fascination with building something with it. Following on from a previous post where I discussed browser based games of 2019, I mentioned a ray caster simulation where you can explore some creepy ruins:
The simulation is delightfully simple and well explained, and definitely lends itself to be a starting point for those wishing to build their own ray caster. I decided to take it and heavily restructure it to better suit my style, but a lot of it ended up being a bit of a refactor as I tried to get my head around the math used. All that being said, go take a look at the first attempt. It works great by firing up the HTML file in your browser of choice – it requires a couple of local images as well. It’s simple enough that I’ve even embedded it here for you to play around with:
See the Pen Wastrel Attempt 1 by Perry Mitchell (@perry-mitchell) on CodePen.
It’s obviously quite basic and doesn’t really resemble a game – but if you squint and turn your head sideways, you can start to see the foundation that made games like Wolftenstein so cool back then and so retro now.
So this being a tutorial, let’s take a look at some fundamentals of our engine right now:
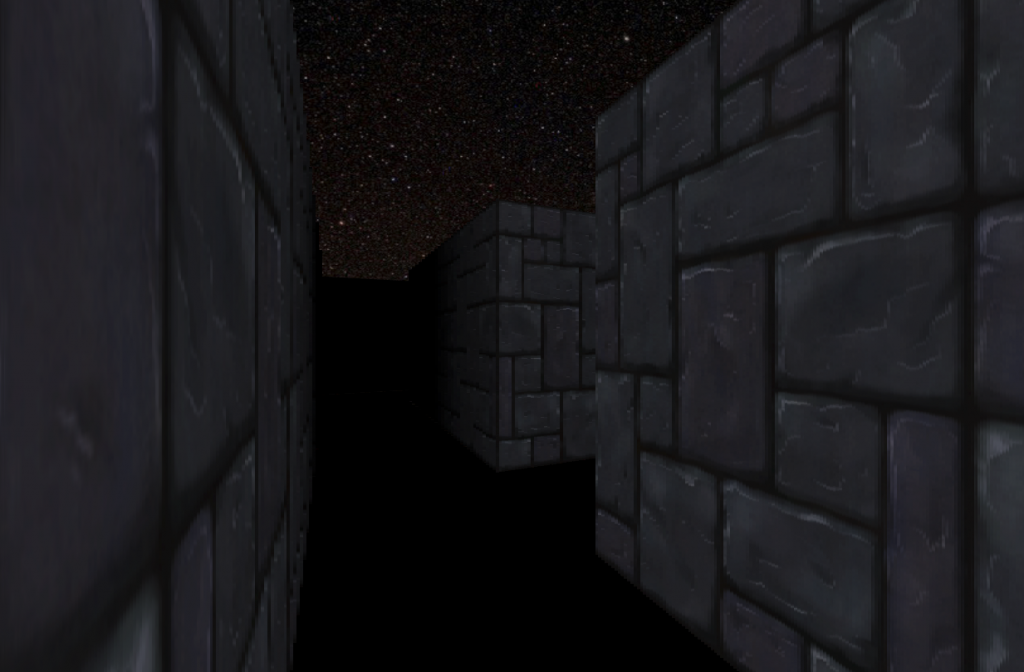
- It has a wall texture and a skybox texture, which are 2D images we load in to memory for the game to use.
- We’re using a solid colour for the floor right now, so we can avoid having to think about perspective and shading for another surface.
- The structure of the environment is square blocks of equal width and breadth.
- The map is made up of quadrants that are either filled (non-walkable) or empty (walkable).
- We’re only rendering what the camera can see and nothing more (rays stop when they hit something).
The engine also makes use of some basic components which are necessary for the platform to run. There’s a map structure which records the layout of the map (walls and corridors) as well as the textures. There’s a camera item which holds the information as to how to view/render the world, the lighting, resolution and FOV. There’s the player item that remembers where the player (camera) is and which way its facing. And then there are the controls which move the player/camera around the world.
I’ve decided not to use classes and have opted for simple object factories for brevity. Another item which is brief and to the point is our initial map, which I hardcoded as a grid for easy viewing:
const MAP = [
    [1, 1, 1, 1, 1, 1, 1, 1, 1],
    [1, 0, 0, 0, 0, 0, 0, 0, 1],
    [1, 1, 1, 0, 1, 1, 1, 0, 1],
    [1, 0, 1, 0, 0, 0, 1, 0, 1],
    [1, 0, 1, 1, 0, 0, 1, 1, 1],
    [1, 0, 0, 0, 0, 0, 0, 0, 1],
    [1, 1, 1, 1, 1, 1, 1, 1, 1]
];
The 1’s are walls and the 0’s are corridors. The layout of the matrix makes it easy to visualise how the map is laid out – each value results in a square block of wall or space in the ray caster.
function play(game) {
    loop(seconds => {
        updateMap(game, seconds);
        updatePlayer(game, seconds);
        render(game);
    });
}

function render(game) {
    drawSky(game);
    drawColumns(game);
}

// Start
play(newGame());
The actual game loop takes place when the play() method is called with a new game. The newGame() method simply returns a new game object that contains the components I mentioned above. The gameplay takes place as the literal game loop iterates, firing calls to update the map and player, and then to render what’s been updated to the <canvas>.
The player’s direction is a percentage of PI, and the player moves throughout the map by percentages of the quadrants (they start at 1.5, 1.5 for instance). When fetching the walls and processing collisions the actual position is rounded down to the nearest quadrant.
The camera’s focal length determines how wide of an angle the camera can see. Changing this value creates very clear differences in behaviour:

The resolution determines essentially how much detail we’re doing to render, and coincides with how many rays we cast. Increasing this value will improve the look somewhat, but will usually result in decreased performance:
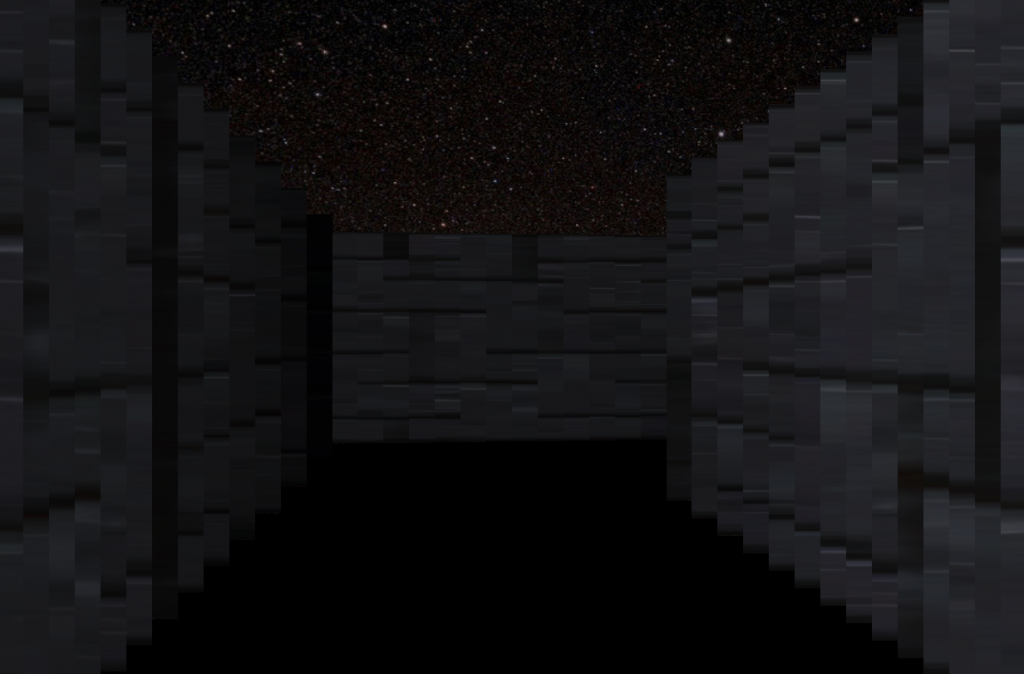
Resolution: 40 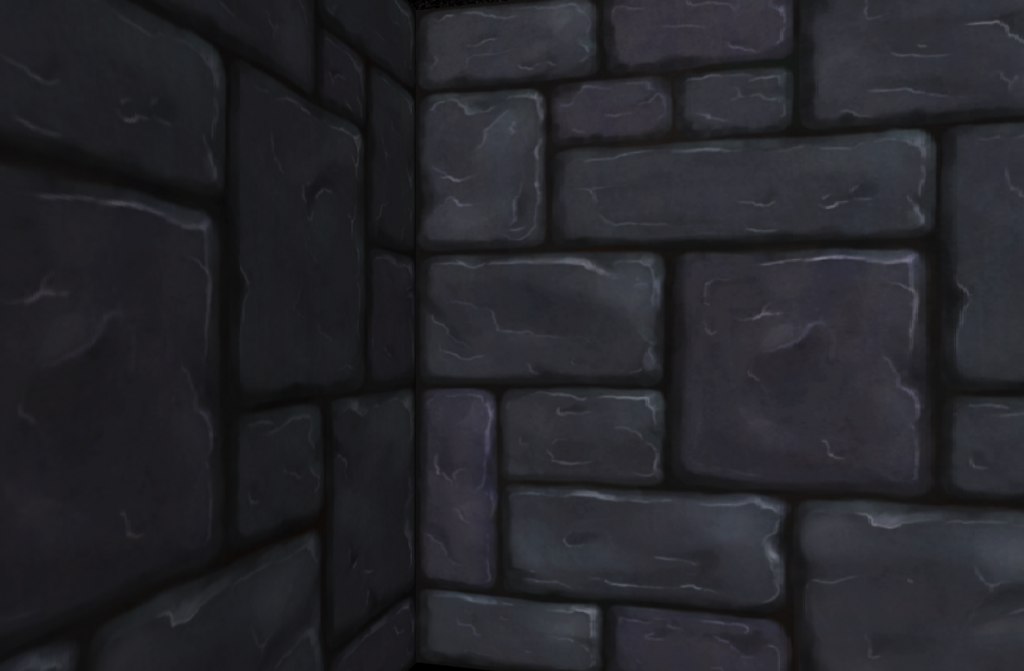
Resolution: 700
The camera range determines how far the player can see (how far a ray can be cast).
The game controls are quite basic and simply trap key presses of the arrow keys when the canvas is active. Normally the arrow keys would scroll, but by calling event.preventDefault() when they’re fired, we can simply respond to the direction without scrolling the game out of view.
Next Steps
Now that we have a basic game engine mostly ready, it’s time to do some touch-ups to make it ready for some immersion. The ground could use a texture, and we should attempt to find a way to use different wall textures for different areas. Once the floor is worked out it’d also be quite easy to add roofed sections of the map for a different vibe.
Thinking of the type of game I’d like to make: Some multiplayer, procedurally-generated experience would be exciting to attempt. Let’s see how we progress towards this goal in the coming tutorial parts.
Before delving in to the next section of the tutorial, why not have a go with modifying the example above? You can checkout the repository or simply try the codepen.